10 Best Bug-Type Fusions in Pokémon Infinite Fusion (6.7.2)
What are the best bug type fusions in Pokémon Infinite Fusion? The short answer: Scizor + Heracross (Bug/Fighting, Technician Bullet Punch) is the best physical bug fusion, Volcarona + Togekiss (Bug/Flying, Quiver Dance + Serene Grace) is the best special one, and Heracross + Scizor flipped (Bug/Steel) is the best defensive pick. This guide ranks the 10 best bug-type fusions in Pokémon Infinite Fusion for your team, with exact head/body orders, resulting typings, formula-estimated stats, ability choices, and build paths in version 6.7.2. No other guide covers bug fusions as a category, and several get the typing rules wrong, so every pick below is built on the current fusion math.
Quick note: pokemon-infinitefusions.site is an unofficial fan guide. We are not affiliated with Nintendo, Game Freak, or the creators of Pokémon Infinite Fusion.

How a Bug Fusion Gets Its Typing (and What Other Guides Get Wrong)
The typing rule is simple to state and easy to misapply: the head donates its primary type, the body donates its secondary type. A single-typed body donates its primary type instead. And the anti-redundancy rule says that if the head’s primary type matches the type the body would donate, the body donates its primary type instead.
Bug is the type where this matters most, because several famous bug fusions in older guides use typing that stopped being correct years ago. In version 5.x of the game, Scizor’s fusion typing was swapped (Steel/Bug instead of Bug/Steel), so guides from that era list combinations like “Gardezor” (Gardevoir head + Scizor body) as Psychic/Bug. That was corrected in version 6.0: Scizor is back to Bug/Steel, so a Scizor body donates Steel, and Gardezor is Psychic/Steel, not Psychic/Bug. One of the most-linked fusion guides on the internet (from 2023, never updated) still shows the old typing. If you built a team around that claim, this guide is the correction.
The same correction applies to Honedge + Volcarona fusions claimed as “Bug/Ghost” on some SEO pages. Under the real 6.7.2 rules, a Honedge head (Ghost primary) with a Volcarona body (Fire secondary) is Ghost/Fire, and reversed it is Bug/Steel. There is no such thing as a triple-typed fusion, so any guide promising “Bug/Flying/Fire” Yanmega mixes is inventing mechanics. Always verify your planned order in the Pokémon Infinite Fusion calculator before spending splicers, because the wrong order on a bug fusion does not just lose a STAB, it can hand you a typing you never wanted.
The Stat Math That Decides Where Each Parent Goes
The 2/3 rule decides every stat line below: Attack, Defense, and Speed lean two-thirds toward the body, while HP, Special Attack, and Special Defense lean two-thirds toward the head. Bug types split cleanly across this rule. The best physical attackers, Scizor, Heracross, Pinsir, and Escavalier, want the bottom slot as bodies, where their Attack gets the two-thirds weight. The best special attackers, Volcarona, Yanmega, and Galvantula, want the top slot as heads, where their Special Attack gets the head weight.
This is why the ordering of the #1 and #2 picks below is deliberate and not interchangeable. Scizor as a head with Heracross as a body gives you a Bug/Fighting bruiser whose Attack comes mostly from Heracross. Flip them and you get a Bug/Steel tank whose defensive stats come mostly from Scizor’s body. Both are excellent, and they do completely different jobs. When you build your own fusions, match the slot to the attacking stat, and read our Pokémon fusion tool guide for worked examples of the stat math.
Abilities That Carry Bug Fusions
A fusion can use either ability either parent had at fusion time, and you choose between them. Bug fusions have one of the strongest ability menus of any type in the game, which is the real reason they punch above their weight. Here are the abilities that define the picks below:
- Technician (Scizor): moves with 60 or less base power get a 50 percent boost. Turns Bullet Punch, Bug Bite, and Aerial Ace into genuinely threatening STAB and priority options.
- Compound Eyes (Galvantula, Butterfree): accuracy multiplied by 1.3. Turns Thunder (70 percent) into a reliable 91 percent nuke and Sleep Powder into a near-guaranteed opener.
- Speed Boost (Yanmega): +1 Speed every turn. One Protect and your sweeper is suddenly outrunning everything.
- Guts (Heracross): Attack up 50 percent when burned, poisoned, or paralyzed. Pairs with Flame Orb for a self-sufficient wallbreaker.
- Swarm (Heracross, many bugs): Bug moves boosted 50 percent below one-third HP. A late-game insurance policy.
- Flame Body (Volcarona): 30 percent burn chance on contact. Punishes the physical attackers that come for your Quiver Dance turns.
- Serene Grace (Togekiss): doubles secondary effect chances. Air Slash becomes a 60 percent flinch machine, and it stacks with Fiery Dance’s SpA raise.
- Wonder Guard (Shedinja): only super-effective moves hit. On the right fusion typing, this is nearly unkillable.
- Sturdy (Forretress): survive any single hit at full HP. Guarantees your hazard setter gets its rocks down.
- Download (Genesect): +1 Attack or Special Attack based on the foe’s lower defense. Free setup on switch-in.
- Infiltrator (Crobat): moves ignore Substitute, Light Screen, and Reflect. Perfect for a status lead that refuses to be walled.
- Tinted Lens (Butterfree’s hidden ability): resisted moves hit for double damage. Makes Bug Buzz threatening even into resists.
The 10 Best Bug Fusions, Ranked
Every pick below uses the 6.7.2 fusion rules: head’s primary type plus body’s secondary type, with the anti-redundancy rule applied. Stats are formula estimates from the 2/3 rule using the parents’ official base stats, so verify your exact build in the calculator before you commit.
#1 Scizor (Head) + Heracross (Body): The Technician Bruiser
Resulting type: Bug/Fighting. Scizor’s primary Bug plus Heracross’s secondary Fighting gives you one of the best offensive type combinations in the game: STAB on both Bullet Punch and Close Combat, with coverage that hits Steel, Rock, Ice, Dark, Normal, and Grass super effectively. Bug/Fighting’s weaknesses (Flying, Fire, Psychic, Fairy) are real, but the offensive pressure rarely gives opponents a free switch.
Stats land around 127 Attack, 83 Defense, 78 Speed, 73 HP, and 85 Special Defense. That Attack number is the story: 127 with Technician-boosted Bullet Punch gives you priority that actually threatens, plus Close Combat and Swords Dance for the full wallbreaker package. The 78 Speed is the honest downside, which is exactly why Bullet Punch matters more than it looks on paper.
Ability: Technician (Scizor) is the pick that makes this fusion famous. Bullet Punch jumps to an effective 60 power with priority and STAB, which cleans up faster threats that would otherwise revenge-kill you. Guts (Heracross) is the alternative with a Flame Orb set: a 50 percent Attack boost on a 127 base stat breaks through walls that Technician sets cannot. Bullet Punch, Close Combat, Swords Dance, and Bug Bite is the standard set; U-turn can replace Bug Bite if you want momentum.
What it beats: Steel, Rock, Ice, Dark, Normal, and Grass types, plus frail faster threats that Bullet Punch picks off. What threatens it: fast Flying types, Fire switch-ins, and bulky Psychic types. Keep a Rock or Electric teammate for the Flying answers.
#2 Heracross (Head) + Scizor (Body): The Iron Wall That Hits Back
Resulting type: Bug/Steel. Flip the #1 order and everything changes. Heracross’s primary Bug plus Scizor’s secondary Steel gives you the single best defensive typing available to any bug fusion: resistances to Normal, Grass, Ice, Psychic, Bug, Dragon, Dark, Steel, and Fairy, a Poison immunity, and exactly one weakness, Fire. Nine resistances and an immunity on a 128-Attack frame is the kind of profile that warps teambuilding around it.
Stats land around 128 Attack, 92 Defense, 72 Speed, 77 HP, and 90 Special Defense. Compare this with #1: you trade 6 Speed and some special bulk for the Steel typing and better Defense. The Attack is nearly identical, which is the point, this is a tank that does not sacrifice its threat level.
Ability: Technician (Scizor) again, because Bullet Punch on a near-unwallable typing is a win condition by itself. Swarm (Heracross) is the late-game alternative when the fusion is chipped and Bug Bite starts breaking substitutes it should not. Close Combat stays for coverage, Swords Dance turns the tank into a sweeper, and Roost gives it staying power. If you only build one bug fusion this playthrough, build this one.
What it beats: everything its typing walls, which is most of the game, plus the same Steel/Rock/Ice/Dark targets as #1. What threatens it: Fire types and only Fire types. One Fire resist on the team (a Water or Rock partner) and this fusion has no bad matchups.
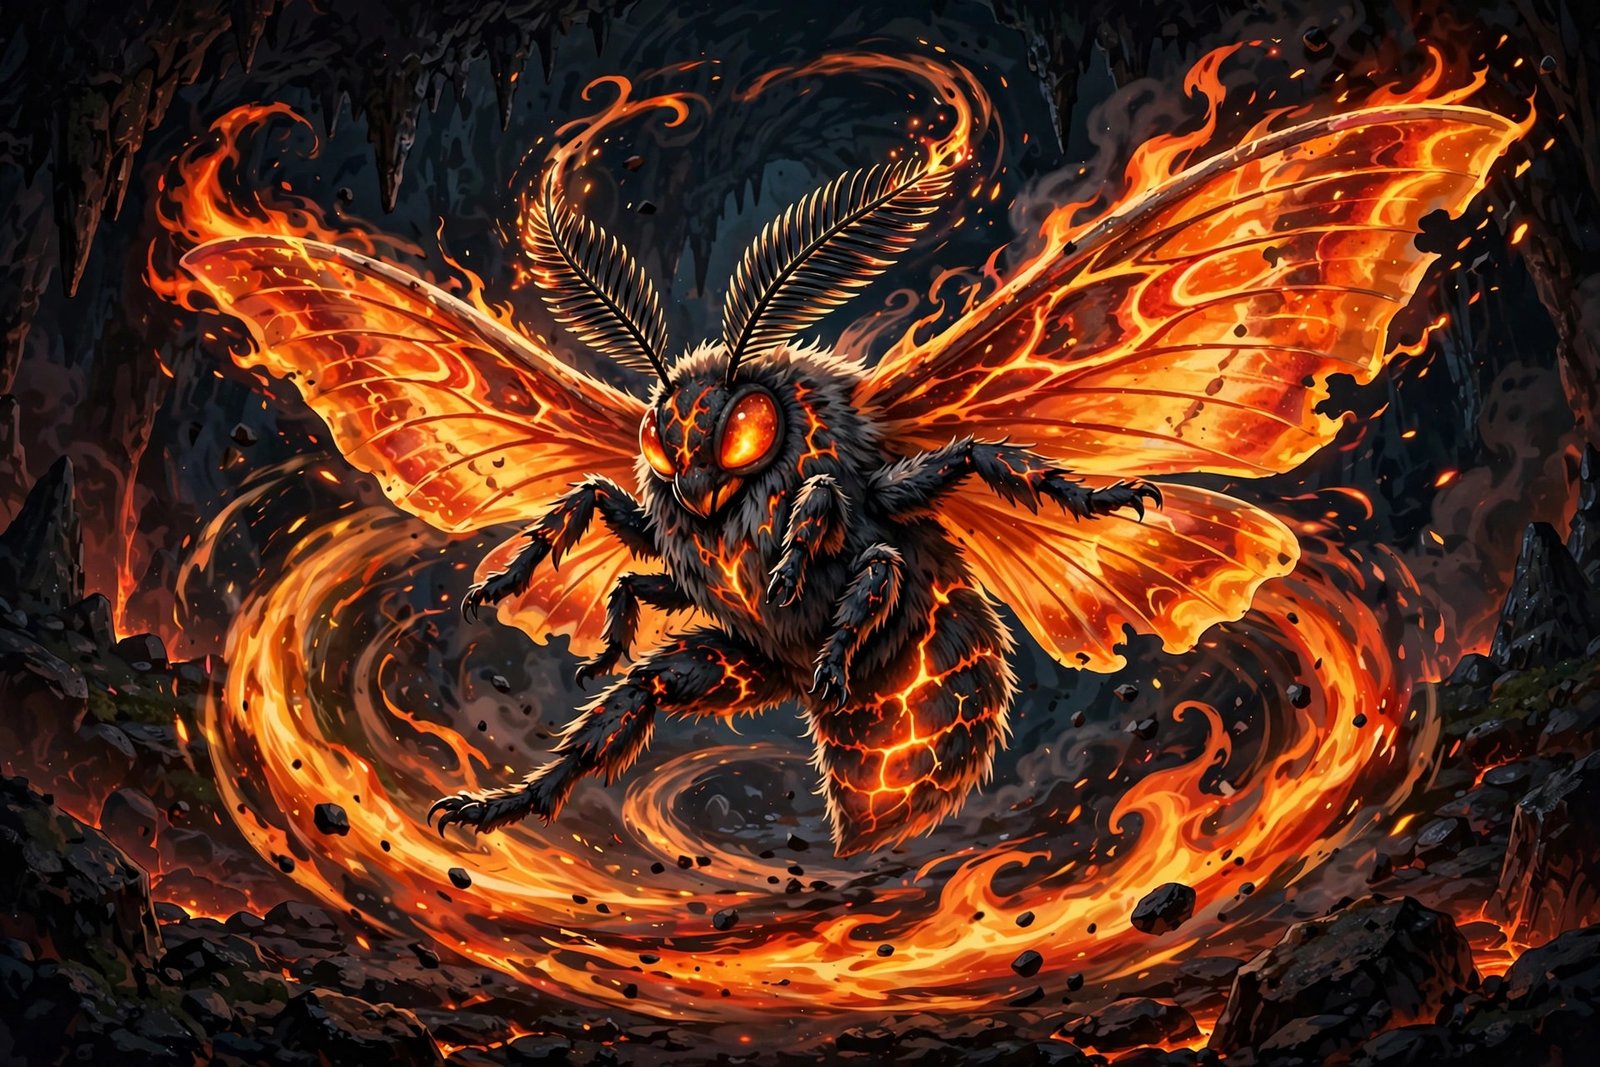
#3 Volcarona (Head) + Togekiss (Body): The Quiver Dance Queen
Resulting type: Bug/Flying. Volcarona’s primary Bug plus Togekiss’s secondary Flying gives you the classic special sweeper frame: Quiver Dance for setup, then STAB Fiery Dance and Air Slash to sweep. The typing brings a Ground immunity and Grass/Fighting/Bug resistances, at the cost of the infamous 4x Rock weakness, so this pick demands hazard control.
Stats land around 130 Special Attack, 87 Speed, 108 Special Defense, and 85 HP. That 130 Special Attack is the highest on this list, and Quiver Dance fixes the merely good 87 Speed while pushing the offenses into unwallable territory. The 108 Special Defense means it sets up comfortably on special attackers.
Ability: Serene Grace (Togekiss) is the famous pick: Air Slash flinches 60 percent of the time, and Fiery Dance’s 50 percent Special Attack raise becomes guaranteed, so every attack is also setup. Flame Body (Volcarona) is the safer alternative, punishing contact attackers during your setup turns. Quiver Dance, Fiery Dance, Air Slash, and Bug Buzz is the set; Roost over Bug Buzz if your team needs longevity more than coverage.
What it beats: Grass, Fighting, Bug, Steel, and Ice types, plus anything slower after one Quiver Dance. What threatens it: Stealth Rock (the 4x weakness is brutal), faster Rock and Electric types. Run a hazard remover and never lead with this against a Rock team.
#4 Volcarona (Head) + Golem (Body): The Volcalem Formula
Resulting type: Bug/Ground. This one is proven in-game: Erika, the Celadon Gym Leader, runs a Volcarona head + Golem body fusion (nicknamed Volcalem by the community) with Quiver Dance, Earth Power, Giga Drain, and Fiery Dance. When the game itself shows you the formula, you take notes. Bug/Ground trades the Flying type’s Ground immunity for resistances to Poison and Fighting and a Rock neutrality that fixes #3’s biggest problem.
Stats land around 108 Special Attack, 100 Attack, 108 Defense, 92 Special Defense, and 83 HP. The mixed profile is the point: Earth Power and Fiery Dance off 108 Special Attack, with 100 Attack as a genuine backup for physical coverage. The 63 Speed is slow, which is why this build plays as a bulky setup sweeper rather than a fast one.
Ability: Flame Body (Volcarona) punishes the contact moves that Fighting and Ground types rely on. Sturdy (Golem) is the alternative and arguably better: it guarantees you survive one hit at full HP, which means one free Quiver Dance against anything. Quiver Dance, Earth Power, Fiery Dance, and Giga Drain is the proven set, copy the Gym Leader, she knew what she was doing.
What it beats: Electric, Poison, Rock, Steel, and Fire types, plus Fighting types that expect the Flying variant. What threatens it: Water and Ice types, and faster Flying types. The Water weakness is the real cost of dropping Flying.
#5 Genesect (Head) + Scizor (Body): The Download Engine
Resulting type: Bug/Steel. Genesect’s primary Bug plus Scizor’s secondary Steel gives you the same elite defensive typing as #2 with a completely different stat engine: 120/120 mixed offenses and the Download ability. Where #2 is a physical tank, this is a mixed breaker that gets a free +1 to the right attacking stat on switch-in.
Stats land around 127 Attack, 98 Special Attack, 98 Defense, 90 Special Defense, 76 Speed, and 71 HP. The mixed profile is genuinely usable on both sides, which matters because Bug/Steel’s coverage is so wide that you want physical and special STAB options. The 76 Speed is the honest limitation; this pick breaks walls rather than outspeeding sweepers.
Ability: Download (Genesect) is the entire reason this fusion exists. Switching into a physically defensive wall gives you +1 Special Attack; switching into a special wall gives you +1 Attack, and Bug/Steel STAB hits both sides. Technician (Scizor) is the fallback if you prefer consistent Bullet Punch damage over the setup gamble. Techno Blast, Iron Head, Bug Buzz or X-Scissor, and Shift Gear (if your build has access) form the core; U-turn keeps momentum when Download whiffs against a balanced foe.
What it beats: anything weak to Bug or Steel STAB, which is most of the roster, plus the Fire types that threaten other Steel fusions if you carry a coverage move. What threatens it: fast Fire types, and its own middling Speed tier. This is a mid-game breaker, not a lead.
Genesect is a static level 60 encounter at the P2 Laboratory, reached through the Rocket Warehouse and Chrono Island questline, so this is a late-game build. The Drives for Techno Blast are found in the lab itself, which means the coverage is free once you make the trip.
#6 Yanmega (Head) + Charizard (Body): The Speed Boost Snowball
Resulting type: Bug/Flying. Yanmega’s primary Bug plus Charizard’s secondary Flying gives you a fast special attacker with the best snowball ability in the game. Every turn you stay in, you get faster. One Protect on the switch and the Speed problem is solved permanently.
Stats land around 114 Special Attack, 98 Speed, and 83 HP. The 98 base Speed is already strong, and Speed Boost means you stop caring about Speed EVs entirely after two turns. The offenses are honest rather than overwhelming, which is why the ability is doing the heavy lifting here.
Ability: Speed Boost (Yanmega) is non-negotiable; it is the entire pick. Solar Power (Charizard) is a trap on this build because the HP drain fights the snowball plan. Bug Buzz, Air Slash, Protect, and a coverage move (Giga Drain or a Hidden Power type that fits your team) is the set. Protect on turn one against anything you cannot one-shot, then sweep.
What it beats: Grass, Fighting, and Bug types, plus anything that cannot break through before Speed Boost stacks. What threatens it: priority moves (Speed Boost does not help against Ice Shard), Stealth Rock, and faster Choice Scarf users on turn one.
#7 Galvantula (Head) + Jolteon (Body): The Thunder Sniper
Resulting type: Bug/Electric. Galvantula’s primary Bug plus Jolteon’s secondary Electric gives you the fastest fusion on this list and the most accurate Thunder in the game. Compound Eyes turns Thunder’s 70 percent accuracy into 91 percent, which changes it from a gamble into a game plan. Bug/Electric has only two weaknesses (Fire and Rock) and resists Fighting, Steel, Grass, and Electric.
Stats land around 101 Special Attack, 123 Speed, and 70 HP. The 123 Speed outruns nearly the entire unboosted game, which means this fusion does its work before the opponent moves. The 70 HP is paper-thin, so this is a hit-and-run attacker, not a switch-in.
Ability: Compound Eyes (Galvantula) is the pick; without it the whole concept falls apart. Volt Absorb (Jolteon) is a tempting defensive alternative that gives you an Electric immunity, but you lose the Thunder reliability that justifies the pick. Thunder, Bug Buzz, Volt Switch, and Energy Ball or a coverage move is the set. Volt Switch is mandatory: pivot out of bad matchups and keep the momentum.
What it beats: Water and Flying types (Thunder hits both), plus Grass and Fighting types that expect to wall Electric attacks. What threatens it: anything that moves first, Fire and Rock coverage, and Ground types, which wall the Electric STAB completely. Never stay in on a Ground type.
#8 Shedinja (Head) + Bisharp (Body): The Wonder Guard Trick
Resulting type: Bug/Steel. Shedinja’s primary Bug plus Bisharp’s secondary Steel, fused with Wonder Guard intact, creates the most unfair defensive profile in Infinite Fusion: a Pokémon that can only be hit by Fire-type moves, and it is also immune to poison and sandstorm damage. Every other damage source in the game does nothing.
The Attack stat lands in genuinely usable territory thanks to Bisharp’s side of the fusion (roughly 113), so this is not a passive wall, it threatens with Swords Dance-boosted STAB. The HP stays at Shedinja’s level, which does not matter when nothing can touch you except Fire. Speed sits around 60, slow enough that you want to move second and punish.
Ability: Wonder Guard (Shedinja) is the entire concept; if you lose it in the ability choice, unfuse and try again. Defiant (Bisharp) is strictly worse here and should never be picked for this build. Swords Dance, X-Scissor, Iron Head, and Shadow Sneak (for priority) is the set. Shadow Sneak matters because it lets you pick off weakened Fire types, your one weakness, before they move.
What it beats: everything that is not a Fire type. That is not an exaggeration; Wonder Guard plus Bug/Steel means the opponent needs super-effective Fire coverage or they cannot damage you. What threatens it: any Fire-type move, entry hazards (they bypass Wonder Guard), status, and weather. This fusion demands hazard removal and a Fire resist teammate, and in return it walls entire teams.
A Dark/Ghost variant (Shedinja with a different body) is weak only to Fairy instead, if your team fears Fire more than Fairy. The Bug/Steel version is generally better because Fairy coverage is rarer than Fire coverage in most playthroughs.
#9 Forretress (Head) + Skarmory (Body): The Hazard Fortress
Resulting type: Bug/Steel. Forretress’s primary Bug plus Skarmory’s secondary Steel gives you the hazard setter every competitive team wants: Spikes, Stealth Rock, and Whirlwind on a frame with 140 Defense that only fears Fire. This is the support pick that makes the other nine better, because sweepers like #3 and #6 need hazards gone and need the opponent’s hazards up.
Stats land around 140 Defense, 72 HP, and 60 Speed. The 140 Defense is the headline: physical attackers simply do not break through, and the Special Defense is workable enough to survive neutral special hits. The 60 Speed is irrelevant because hazard setters want to move last anyway, after the opponent’s Taunt users have acted.
Ability: Sturdy (Forretress) guarantees the hazards go up even against an unexpected super-effective hit. Keen Eye (Skarmory) is the alternative if your team struggles with accuracy drops, but Sturdy is almost always correct. Spikes, Stealth Rock, Whirlwind, and Gyro Ball (which hits hard at 60 Speed) is the set. Lead with this, set both hazards, Whirlwind away setup sweepers, and let the sweepers do the rest.
What it beats: physical attackers, setup sweepers (Whirlwind), and anything that hates hazards, which is everything. What threatens it: Fire types, Taunt leads, and Magic Bounce. Have a plan for the opponent’s hazard remover.
#10 Butterfree (Head) + Crobat (Body): The Sleep Lead
Resulting type: Bug/Flying. Butterfree’s primary Bug plus Crobat’s secondary Flying gives you the fastest status lead available to bug teams: Compound Eyes Sleep Powder at 110 Speed. Sleep Powder’s 75 percent accuracy becomes effectively guaranteed under Compound Eyes, and at 110 Speed you are putting the opponent to sleep before they act.
Stats land around 110 Speed, 83 Special Attack, and 85 HP. The offenses are modest, but a sleep lead does not need offenses; it needs to move first and land the status. The 110 Speed guarantees that against everything except Choice Scarf users and faster leads.
Ability: Compound Eyes (Butterfree) is mandatory; the whole pick is the guaranteed Sleep Powder. Infiltrator (Crobat) is the alternative if the opponent’s team is full of Substitute users, but you lose the sleep reliability. Sleep Powder, Stun Spore, Tailwind, and U-turn is the set: put something to sleep, set Tailwind for your sweepers, then U-turn out. This is an early-game accessible pick that stays useful all the way through the Elite Four.
What it beats: slower leads, setup sweepers (sleep them before they set up), and anything that cannot handle Tailwind-supported sweepers. What threatens it: faster Taunt users, Insomnia/Vital Spirit, and Safety Goggles. Have a backup plan for the mirror lead.
Patching Bug’s Weaknesses With the Right Partner
Bug is weak to Fire, Flying, and Rock, and no amount of stat math fixes that. Fusion is the fix, and the pattern across the ten picks is the lesson: Steel bodies (Scizor, Skarmory, Bisharp) erase the Rock and Flying weaknesses down to a single Fire weakness. Ground bodies (Golem) trade the Flying problem for a Water one. Fighting bodies (Heracross) keep all three weaknesses but pay you back with the best offensive coverage in the game.
When you build outside this list, pick the body for the weakness you fear most. Afraid of Stealth Rock ruining your sweeper? A Steel or Ground body fixes it. Afraid of Fire? There is no body that removes Bug’s Fire weakness entirely except through Wonder Guard tricks, so cover it with a teammate instead: a Water or Rock fusion in the next slot. Our team builder guide walks through covering a full team’s weaknesses systematically.
Where to Find the Bug Parents
Two parents have confirmed, specific locations worth planning around. Volcarona is a static encounter in the Safari Zone’s desert temple, which makes it available far earlier than most players expect; you do not need to wait for post-game. Genesect is a level 60 static encounter at the P2 Laboratory, reached through the Rocket Warehouse and Chrono Island questline, which makes it a genuine late-game project. Both are worth the trip.
The rest, Scizor, Heracross, Pinsir, Yanmega, Galvantula, Forretress, Escavalier, Shuckle, Bisharp, Togekiss, Golem, Jolteon, Charizard, Skarmory, Butterfree, and Crobat, are standard encounters across the Kanto and Johto regions and the additional roster. Check the exact encounter data in our Infinite Fusion Pokédex rather than trusting third-party encounter tables, which are often written for older versions. If you are starting a fresh save to build one of these, download Pokémon Infinite Fusion version 6.7.2 and confirm you are on the current patch before hunting.
Fitting a Bug Fusion Into Your Six
Bug fusions slot into teams by role, not by type. Pick one: a physical breaker (#1), a defensive core piece (#2), a special sweeper (#3 or #4), a speed-control snowball (#6 or #7), a hazard setter (#9), or a status lead (#10). Two bug fusions on one team is usually one too many because they share weaknesses; the exception is #2 plus #8, whose shared Bug/Steel typing means they cover each other’s checks rather than doubling them.
The most common mistake is building the fusion and then discovering your team has three Pokémon weak to Fire. Build the support first: a Water or Rock partner for the Fire weakness, hazard removal for the Flying-weak sweepers, and then the bug fusion on top. A single well-supported bug fusion contributes more than three unsupported ones.

Bug Fusion Questions, Answered
Which head/body order is best for Scizor fusions?
Scizor as the head keeps Bug as the primary type and takes the body’s secondary type (Scizor + Heracross = Bug/Fighting). Scizor as the body donates Steel as the secondary type (Heracross + Scizor = Bug/Steel). Neither is universally better: head-Scizor builds are offensive, body-Scizor builds are defensive. Decide based on what your team needs, and remember that under the current 6.x rules a Scizor body always gives Steel, never Bug.
Is the Bug/Steel Shedinja fusion still good in 6.7.2?
Yes. Shedinja head + Bisharp body with Wonder Guard is weak only to Fire-type moves and immune to poison and sandstorm. The counters are real, entry hazards, status, and any Fire coverage, so it needs hazard removal and team support. But as a wall that only one type in the game can touch, it remains one of the strongest defensive options in Infinite Fusion.
What is the best bug fusion for the early game?
Butterfree head + Crobat body (#10) is the best early-game bug fusion: both parents are obtainable early, Compound Eyes Sleep Powder trivializes difficult early fights, and Tailwind support stays relevant through the Elite Four. Volcarona is available earlier than most players realize via the Safari Zone desert temple, so #4 is a realistic mid-game target rather than a post-game luxury.
Why do old guides show different typings for the same fusions?
Because the fusion typing rules changed. In version 5.x, Scizor’s fusion typing was swapped to Steel/Bug; version 6.0 reverted it to Bug/Steel. Guides written before 6.0 (including some still ranking highly) show the old typings. Any fusion guide that does not mention 6.x is suspect; verify every order in the fusion calculator.
Can bug fusions handle the Elite Four?
Yes, with support. Bug/Steel cores (#2, #5, #8) wall large parts of Elite Four teams, Quiver Dance sweepers (#3, #4) win games once hazards are controlled, and Technician priority (#1) revenge-kills the fast threats. The Elite Four punishes unsupported sweepers of every type, so the support package, hazard removal, a Fire resist, status answers, matters more than the fusion choice itself.
Sources: fusion typing and stat rules from the Infinite Fusion Fandom wiki (Fusion FAQs); Volcarona fusion precedent (Erika’s Volcalem) from the Gym Leaders wiki page; Genesect encounter details from the Legendary Pokémon wiki page; parent base stats from Bulbapedia.