
Safari Zone Guide: Rules, Every Area, HM03 Surf & Hidden Secrets in Pokémon Infinite Fusion
The Pokémon Infinite Fusion Safari Zone is one of the most misunderstood places in the whole game. Players walk through the gate north of Fuchsia City expecting a normal catching area, then freeze the moment a wild Pokémon appears and the battle menu never shows up. No weakening the target. No status moves. No false swipe setup. Just 30 Safari Balls, 600 steps, and four buttons: ball, bait, rock, or run. This complete Safari Zone guide for Pokémon Infinite Fusion (version 6.7.2) explains exactly how the zone works, maps all five areas with their items, shows you the fastest path to HM03 Surf, and reveals two secrets most players miss, including which encounters literally cannot run away from you.
Quick note: pokemon-infinitefusions.site is an unofficial fan guide. We are not affiliated with Nintendo, Game Freak, or the creators of Pokémon Infinite Fusion.
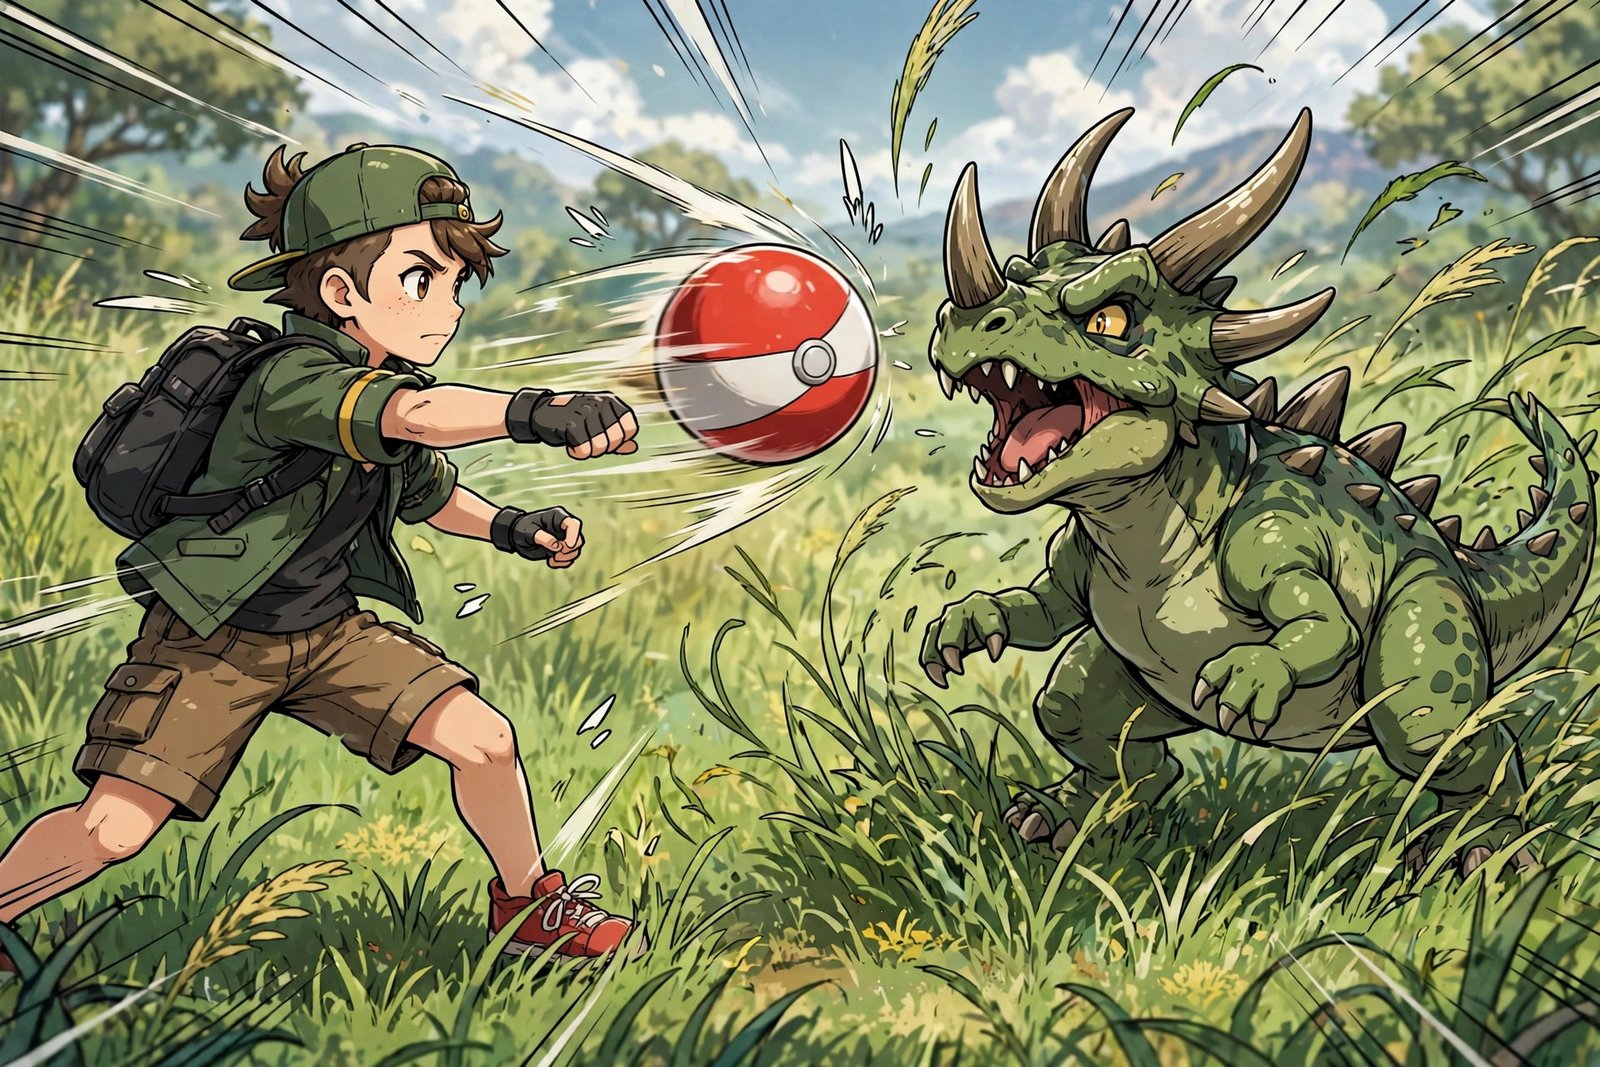
Finding the Safari Zone and How Entry Works
The Safari Zone Gate sits directly north of Fuchsia City. Walk north out of the city and you cannot miss it. When you step through the gate, you arrive in Safari Zone Area 1, the first of five connected areas, and the rules change immediately.
Every visit hands you 30 Safari Balls. These are special balls that only work inside the zone, and you cannot buy more mid-visit. Your visit ends when one of two things happens: you throw all 30 balls, or you take 600 steps. The game tracks both for you. While you are inside the Safari Zone, your menu looks different. The number of steps and Safari Balls remaining appears in the top-left corner of the screen, and the normal Save option is replaced with a Quit option. Choosing Quit ends your visit early and returns you to the front of the Safari Zone Gate back in Fuchsia City.
That altered menu matters for one big reason: you cannot save while you are inside. All saving happens before you enter. That single detail shapes the entire strategy for the zone, and we will come back to it below.
The Safari Zone Catching Rules, Explained
In the Pokémon Infinite Fusion Safari Zone, wild Pokémon are caught without any battles. When one appears, you get four options: throw a Safari Ball, throw bait, throw a rock, or run away. That is the whole toolkit. Your own team sits on the bench, which means type matchups, levels, and your party’s moves are irrelevant here. Catching becomes a game of probability and nerve.
Throwing a ball is the obvious move, but it is not always the first move you should make. Each of the other options changes the odds in a specific way, and understanding the tradeoff is what separates a frustrating Safari Zone visit from a productive one.
Rocks vs Bait: The Real Safari Zone Strategy
Throwing a rock makes the wild Pokémon angry. An angry Pokémon is easier to catch, but it is also more likely to flee. You can throw multiple rocks, and each one pushes both effects further: capture odds climb, and flee odds climb right along with them. Rocks are the high-risk, high-reward option. They shine when a Pokémon is close to uncatchable and you would rather gamble than watch it walk away after twenty safe throws.
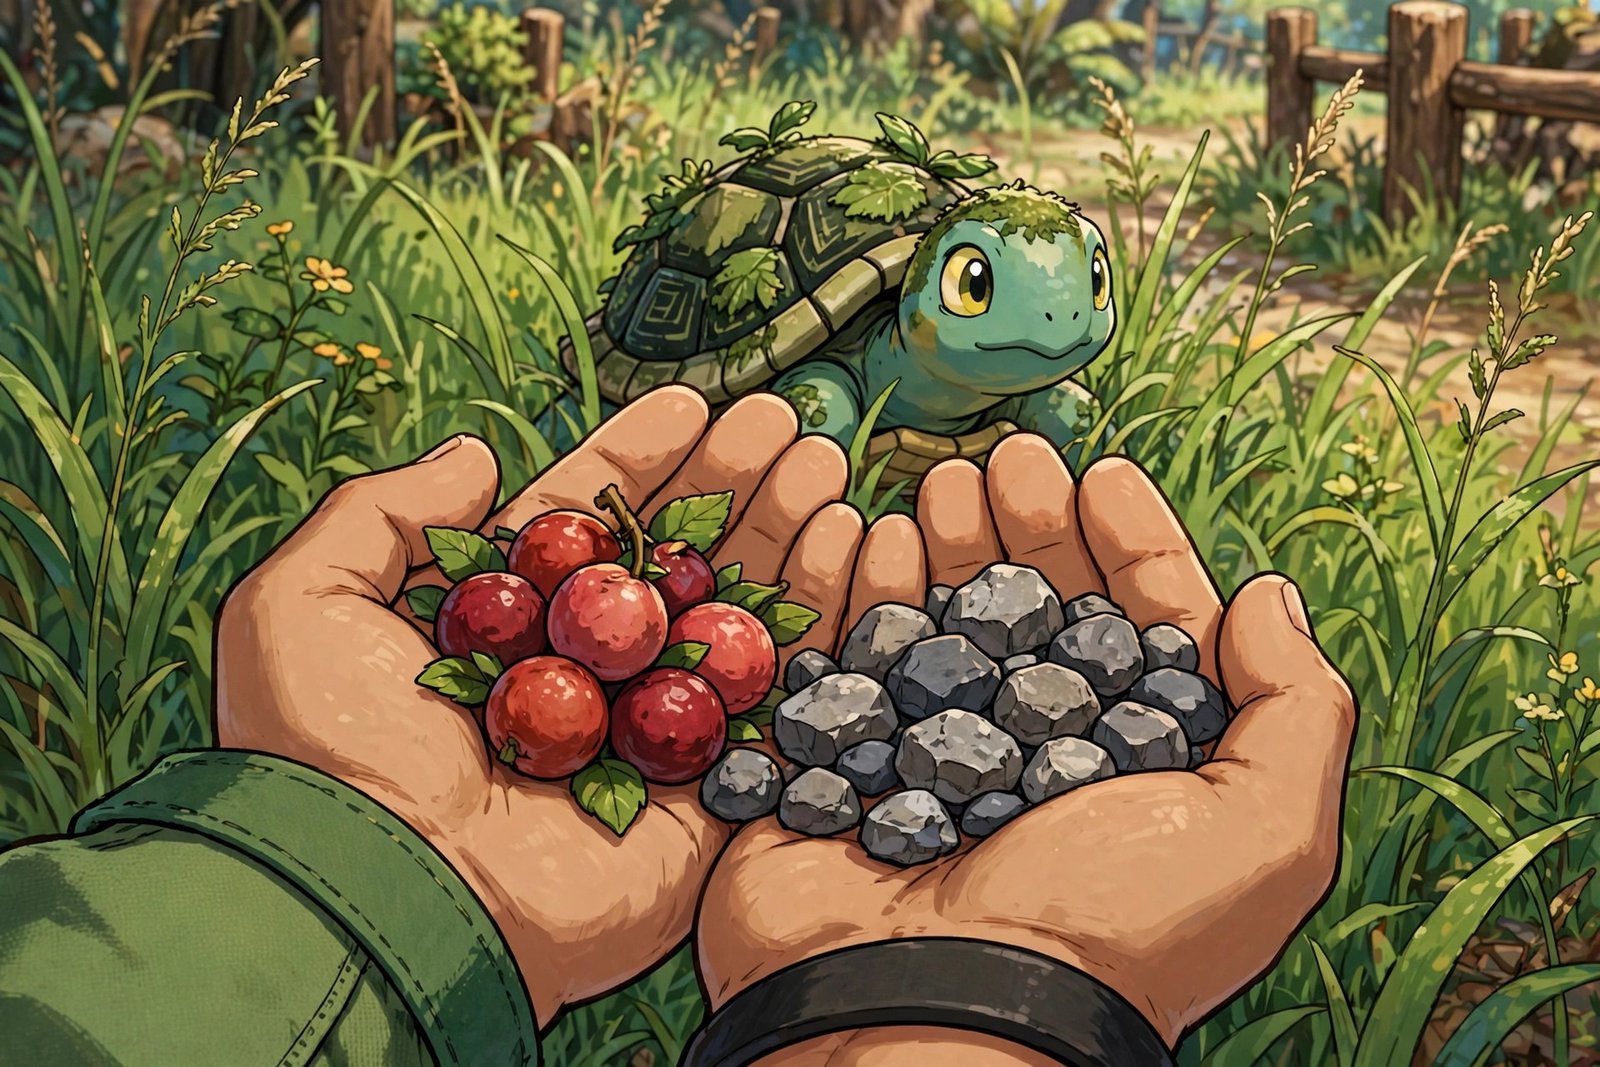
Throwing bait does the opposite. Baited Pokémon stay around longer, giving you more throws before they flee, but each individual throw is less likely to catch them. Bait is the patient option. It is at its best when you have plenty of Safari Balls left and the encounter is a rare one you absolutely do not want to lose.
Here is a practical way to combine them. For a rare or valuable encounter, open with one or two bait throws to calm the situation and buy yourself turns. Then switch to rocks, one or two at most, to raise your catch chance before you start spending balls. If the Pokémon looks like it is about to bolt, more bait can steady it. There is no magic formula, because every encounter rolls its own odds, but bait-first-then-rock is the most reliable pattern most Safari Zone veterans settle on.
The Save-Before-You-Enter Rule Every Player Should Follow
The Fandom wiki is blunt about this, and it is right: catching the rare Pokémon in the Safari Zone can be brutal. It is not unusual to throw all 30 Safari Balls without catching a single Pokémon. Because you cannot save inside the zone, the standard approach is to save your game right before walking through the gate. If the visit goes badly, reload and try again. If it goes well, keep the results.
This matters most when you are hunting something specific. A full Safari Zone run costs you 30 balls and up to 600 steps of your time, and reloading lets you convert a bad run into another attempt at zero cost. Treat the Safari Zone like a slot machine with a save state, because that is exactly what the game lets it be.
Safari Zone Areas 1 Through 5: What Is in Each One
The zone is split into five areas, and they connect in a chain. Area 1 connects to Area 2, Area 2 branches to Areas 3 and 5, and Area 4 sits deeper in the network, reachable through Area 3. The deeper areas hold the better items, so a visit that never leaves Area 1 is a wasted visit.
Safari Zone Area 1: The Entry Grounds
Area 1 is where every visit starts. It is the simplest area, and its main job is to get you moving deeper. Do not burn balls here unless something genuinely rare shows up. Keep your steps and balls for the areas ahead.
Safari Zone Area 2: Item Hunting Grounds
Area 2 connects back to Area 1 to the south-west, reaches Area 3 to the north-west, and leads to Area 5 to the north-east. It is the best area in the zone for free items. Pick up the Oval Stone and Max Potion on the southern high ground, the Protein by the western patch of grass, the Leaf Stone on the northeastern high ground, and the Poison Barb by the north-western patch of grass. The Leaf Stone alone is worth the trip if you are building Grass-type fusions. Magenta item balls in the zone respawn at midnight, so these pickups can be worth repeat visits over multiple days.
Safari Zone Area 3: The Crossroads
Area 3 connects Area 2 to the south-east and Area 4 to the north and north-west, and it also links back to Area 1 to the south-east. Think of it as the transit hub. Push through it toward Area 4, because that is where the zone’s biggest prize waits.
Safari Zone Area 4: The Ranger House and HM03 Surf
Area 4 is the most important area in the Safari Zone for one reason: the house containing the Safari Ranger who gives you HM03 Surf. In a game where water routes gate huge chunks of the map, Surf is a progression milestone, and many players get it here before they expect to. The Discord community has mapped a near-optimal path through the zone to reach this house with steps to spare, and following it on your first serious visit is the smartest move you can make.
While you are in Area 4, grab the Sharp Beak on the higher ground and the Miracle Seed on the north-east path. Both are solid held items for the fusion teams you will build later. If you are planning fusion pairs, run your ideas through the Pokémon Infinite Fusion calculator before committing DNA Splicers, since a Sharp Beak or Miracle Seed can shift which fusion partner is optimal.
Safari Zone Area 5: The Desert Path and the Temple
Area 5 starts from Area 2 in the south-west and runs north-west to the entrance of the Safari Zone Temple. It is a desert path, and it has a unique mechanic: shadows in the sand. Interacting with a shadow gives you either a random item or a random fight against a Trapinch, Sandile, or Diglett. Note the wording there: a fight, not a Safari-style catch. These sand-shadow encounters work like normal battles, which makes them a strange and welcome break from the zone’s usual rules.
Area 5 also holds a building tied to one of the zone’s quests, which we will cover below.
The Safari Zone Vendor: What the Ranger Sells
Near the entrance counter, a Safari Ranger sells three items. Fusion Incense costs ₽700, Honey costs ₽100, and the Safari Souvenir costs ₽1,400. The Fusion Incense is the interesting one for fusion-focused players, since incense items interact with breeding and egg mechanics in the wider game. The Souvenir is a collector’s item, and Honey is cheap enough to grab as a convenience buy.
Two Safari Zone Quests You Should Not Miss
Two Fuchsia City quests run through the Safari Zone, and both pay well.
Bitey Pokémon: The Carvanha in the Lake
A fisherman in Fuchsia City wants to know what sharp-toothed Pokémon bit him in the Safari Zone’s lake. The answer is a Carvanha, which you can find by surfing any body of water inside the Safari Zone. This quest effectively requires HM03 Surf, which is convenient, because the Surf HM comes from the Safari Zone itself. Complete it and you earn Protective Pads, a useful held item. The Carvanha angle also makes this one of the few Safari Zone encounters with a confirmed, specific species tied to it.
Lost Pokémon: The Chansey’s Trainer in Area 5
The second quest asks you to find a lost Chansey’s trainer. The trainer is waiting in the building in Safari Zone Area 5. Reuniting them earns you a Lucky Egg, one of the best training items in the game, since it boosts the experience the holder earns. Given that training fusions to competitive levels takes real time, this quest is worth prioritizing on the same visit where you grab the Area 5 items.
Shiny Pokémon and Volcarona Cannot Run Away
This is the Safari Zone’s best-kept secret, straight from the wiki: inside the Safari Zone, it is impossible for Shiny Pokémon and Volcarona to run away. They will stay in the encounter no matter how many turns pass. That removes the entire flee-risk side of the equation.
The practical advice follows directly. If a shiny appears, or if you reach the zone’s static Volcarona encounter, throw a few rocks to drive your catch chance up. Normally rocks are risky because they raise flee odds too, but against a target that cannot flee, the risk side of the tradeoff vanishes. Rocks become pure upside. You can still run out of Safari Balls, so do not waste turns, but the pressure of a sudden escape is gone.
One caveat: this protection does not apply in Randomized Mode. If randomization swaps the static Volcarona encounter for something else, the replacement can flee normally, and a randomized Volcarona appearing in the grass or water is not protected either. This is a vanilla-mode guarantee.
Advanced Safari Zone Tips for Fusion Players
Catching in the Safari Zone is only half the game. What you catch becomes fusion material, so a few extra habits pay off.
- Plan your visit around a target. Decide before entering whether this run is an item run (Area 2 and 4 pickups, Surf, quests), a catching run (rare species), or both. Item runs should minimize steps in grass; catching runs should maximize them.
- Bring the step budget in your head. Six hundred steps sounds generous until you are zigzagging through five areas. Sketch the route: Area 1 through Area 2, detour for the Area 2 items, up to Area 4 for Surf, then Area 5 for the quest building and temple entrance.
- Check natures and abilities after the catch, not during. You cannot influence them in the Safari Zone, so spend your mental energy on the catch itself. Sort and evaluate later, and use the fusion calculator to see which catches make strong heads or bodies.
- Stock up on Safari Balls is not a thing, so stock up on attempts. Since each entry grants exactly 30 balls, your real resource is visits. Multiple focused visits beat one marathon visit where you burn balls on common encounters early.
- Revisit for the respawning items. Magenta item balls respawn at midnight, so the Area 2 and Area 4 pickups are renewable income across days.
Safari Zone FAQ
Can you battle Pokémon in the Safari Zone?
No. Wild encounters in the Safari Zone never become battles. You cannot weaken the target, inflict status, or use your own Pokémon’s moves. The only exception is the sand-shadow encounters in Area 5, which trigger normal fights against Trapinch, Sandile, or Diglett.
What happens when you run out of Safari Balls or steps?
You are escorted out of the zone, and the visit ends. You keep everything you caught and every item you picked up. You can re-enter for another full set of 30 balls.
Where do you get HM03 Surf in the Safari Zone?
A Safari Ranger in the house in Area 4 gives you HM03 Surf. Follow the community’s near-optimal path through Areas 1 to 4 to reach him with steps to spare, and grab the Sharp Beak and Miracle Seed in the same area while you are there.
Do shiny Pokémon flee in the Safari Zone?
No. Shiny Pokémon cannot run away inside the Safari Zone, and neither can the static Volcarona encounter. Throw rocks freely to raise your catch odds, since the flee risk that normally comes with rocks does not apply. This does not hold in Randomized Mode.
How do you leave the Safari Zone early?
Open the menu and choose Quit, which replaces the Save option while you are inside. You return to the front of the Safari Zone Gate in Fuchsia City with everything you have collected so far.
Making the Safari Zone Pay Off
The Pokémon Infinite Fusion Safari Zone rewards preparation more than luck. Save before you enter. Know whether the visit is for items, catches, or both. Push deep to Areas 4 and 5 where the real prizes live: HM03 Surf, the Sharp Beak, the Miracle Seed, the Lucky Egg quest, and the Temple entrance. Use bait to buy time on rare encounters, rocks to close out the ones that cannot flee, and the reload button when a run goes sideways. Do that, and the zone stops feeling like a lottery and starts feeling like a supply run. Once you have your catches sorted, head to the team builder to slot your new fusion material into a real team plan.
Sources: Safari Zone, Safari Zone Area 4, and Quests on the Pokémon Infinite Fusion Wiki.